Hi there Hoppers!
Are you ready to start hopping? But you don’t know where to start? Help is underway!
In this tutorial, we are going to explain how to transfer funds to your GDAX account and how to set up your hopper.
GDAX is an ideal exchange, for exchanging fiat currency (Dollar/Euro) to Crypto's (Bitcoin, Ethereum, Litecoin). GDAX doesn't have a lot of currencies, but it's a very solid exchange.
Obviously, first we need an account. Let’s create one.
|
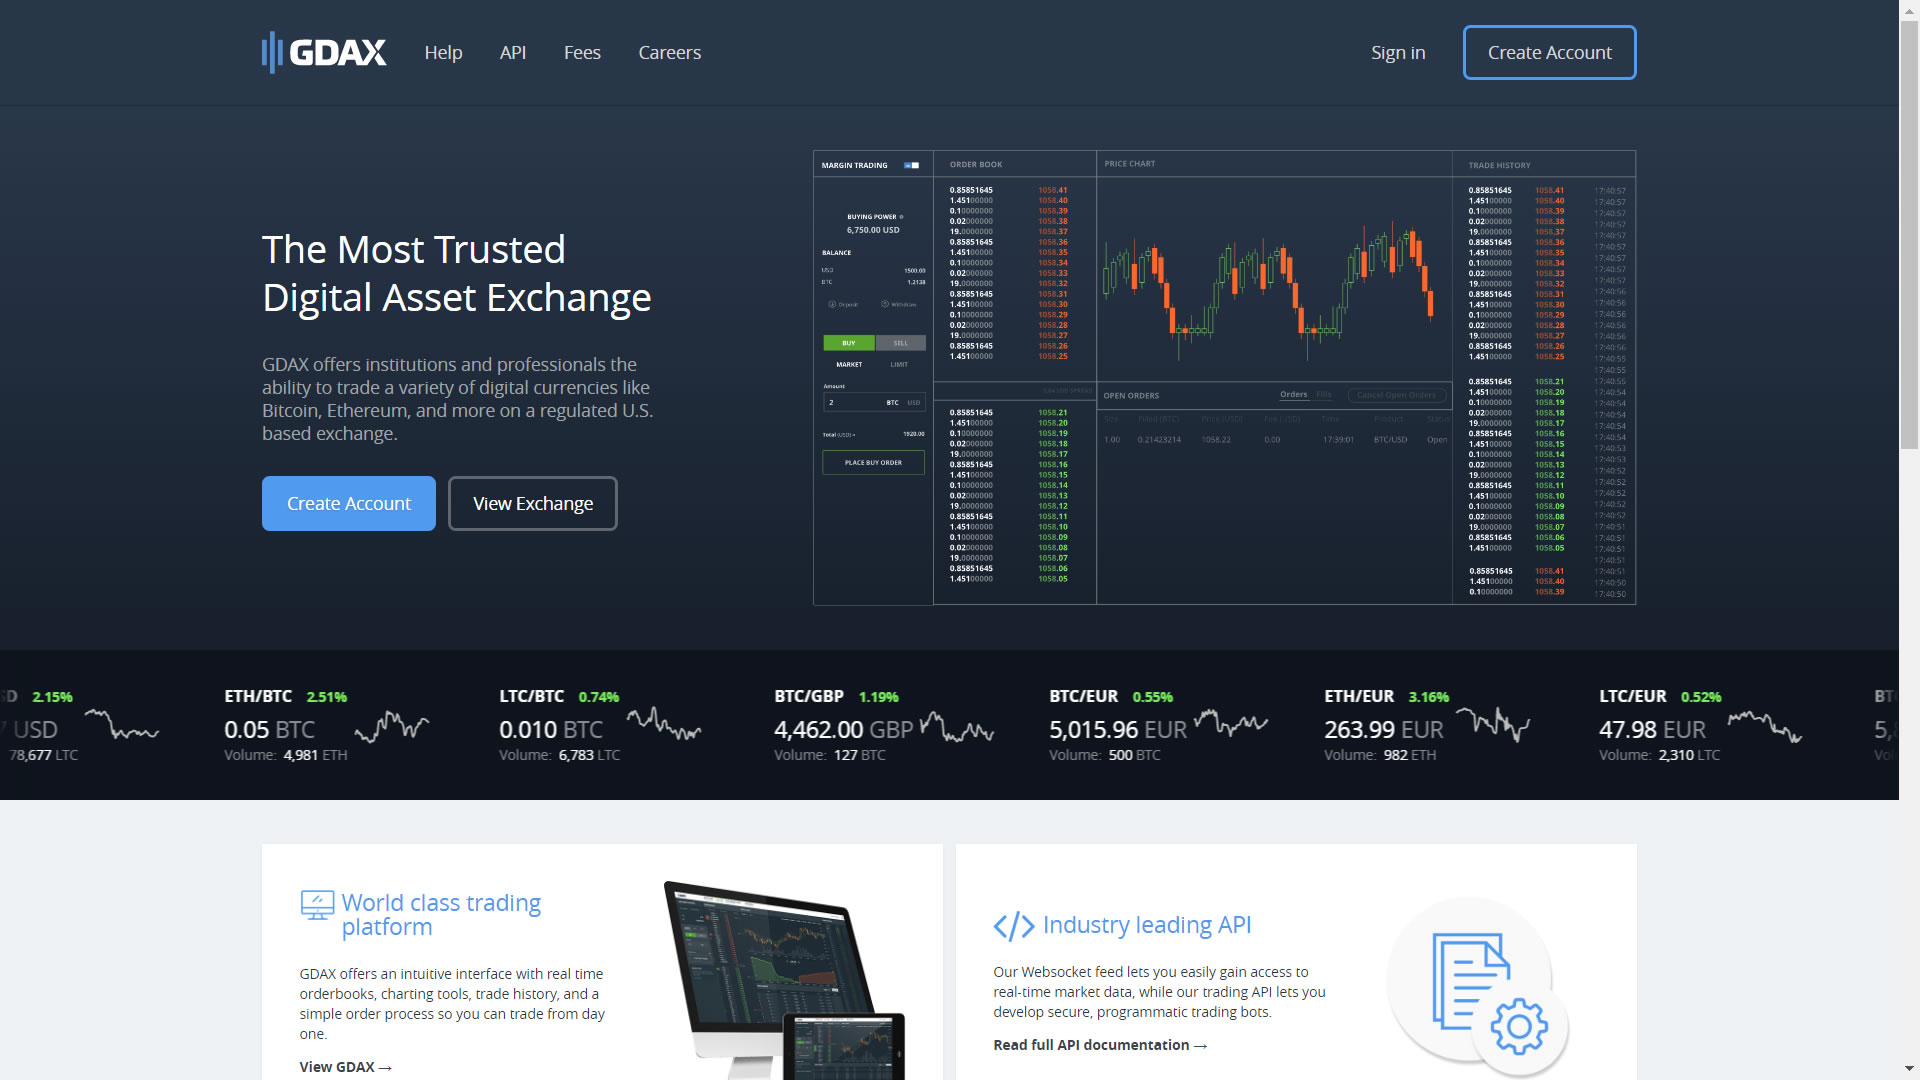
Go to GDAX.com And click create an account in the right top corner. |
 |
|
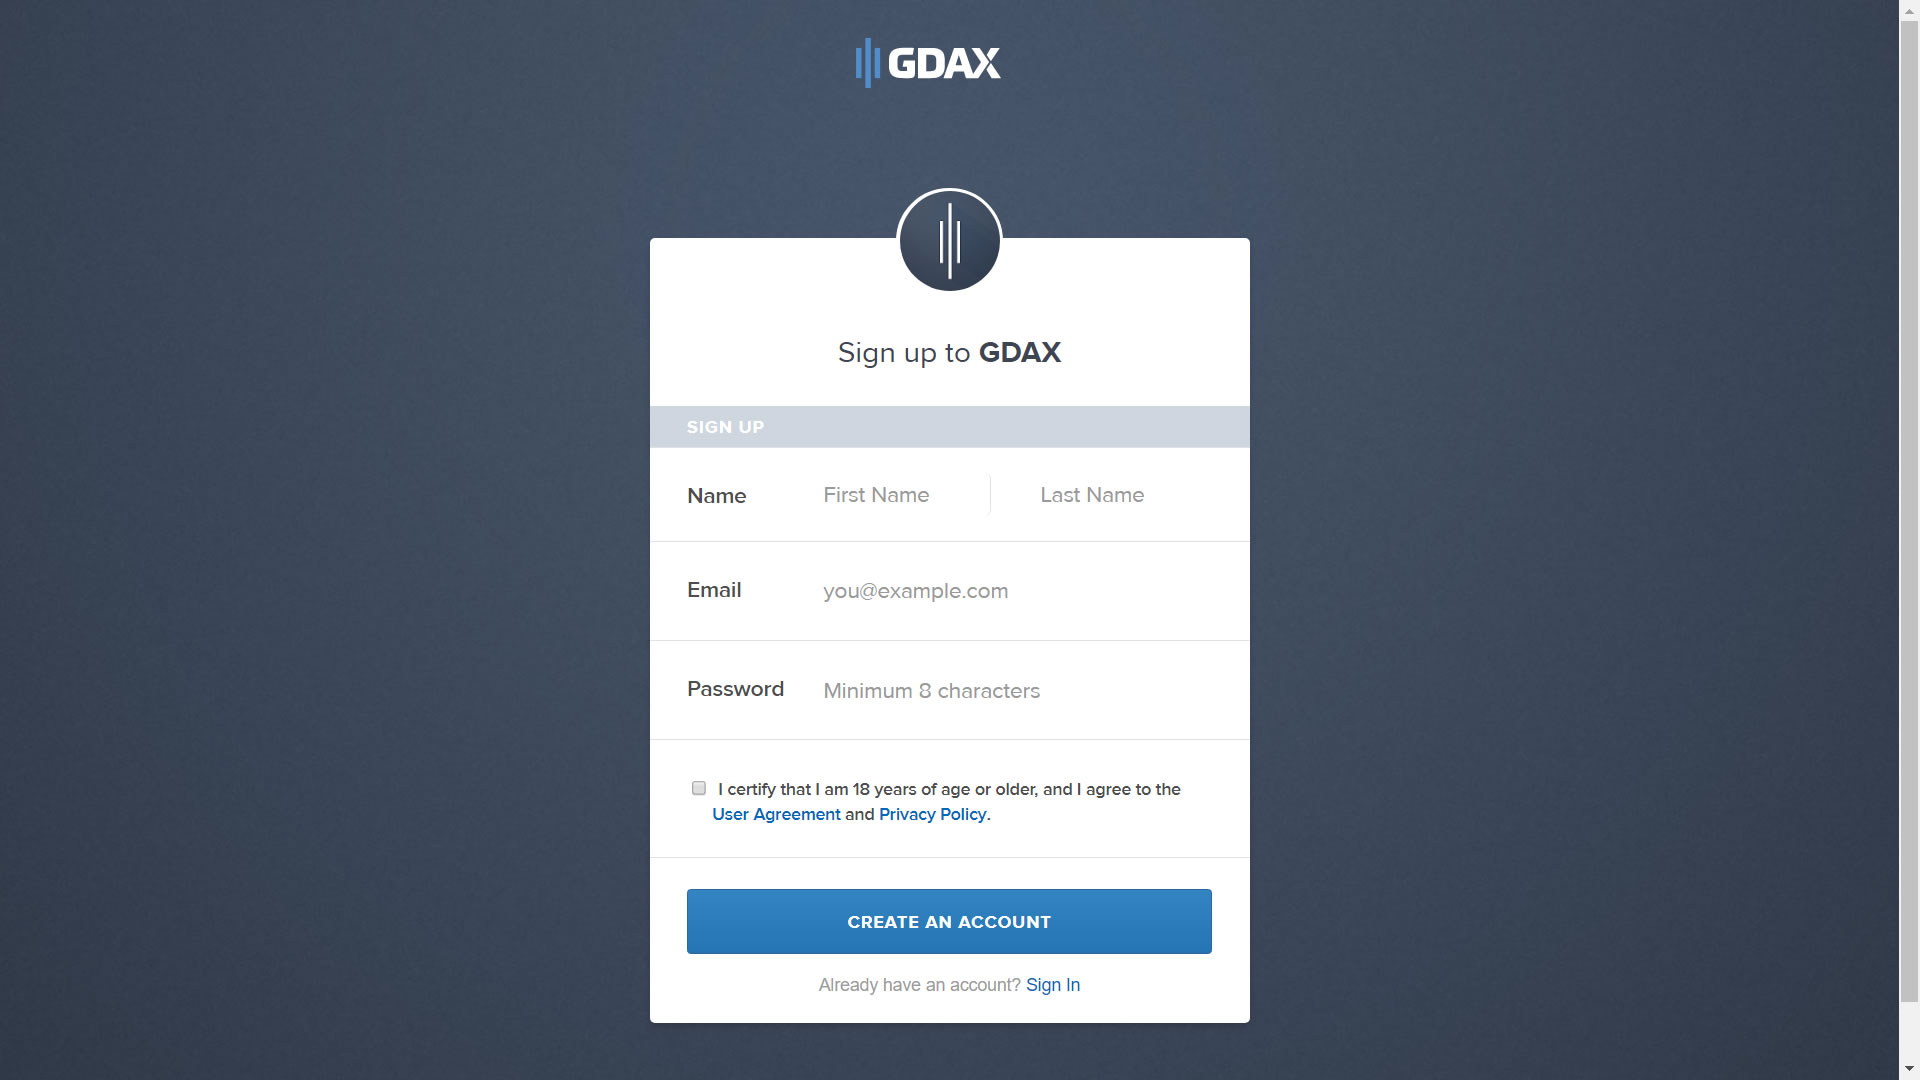
Create your account Fill in the required fields. Please, do not use an easy password. This account is where you'll store your funds, so it's very important to choose a strong and long password. You'll get an email with a activation link you'll have to click. GDAX is very strict with their verification rules. You'll have to verify yourself with your drivers license and passport. This is to prevent money laundering. |
|
|
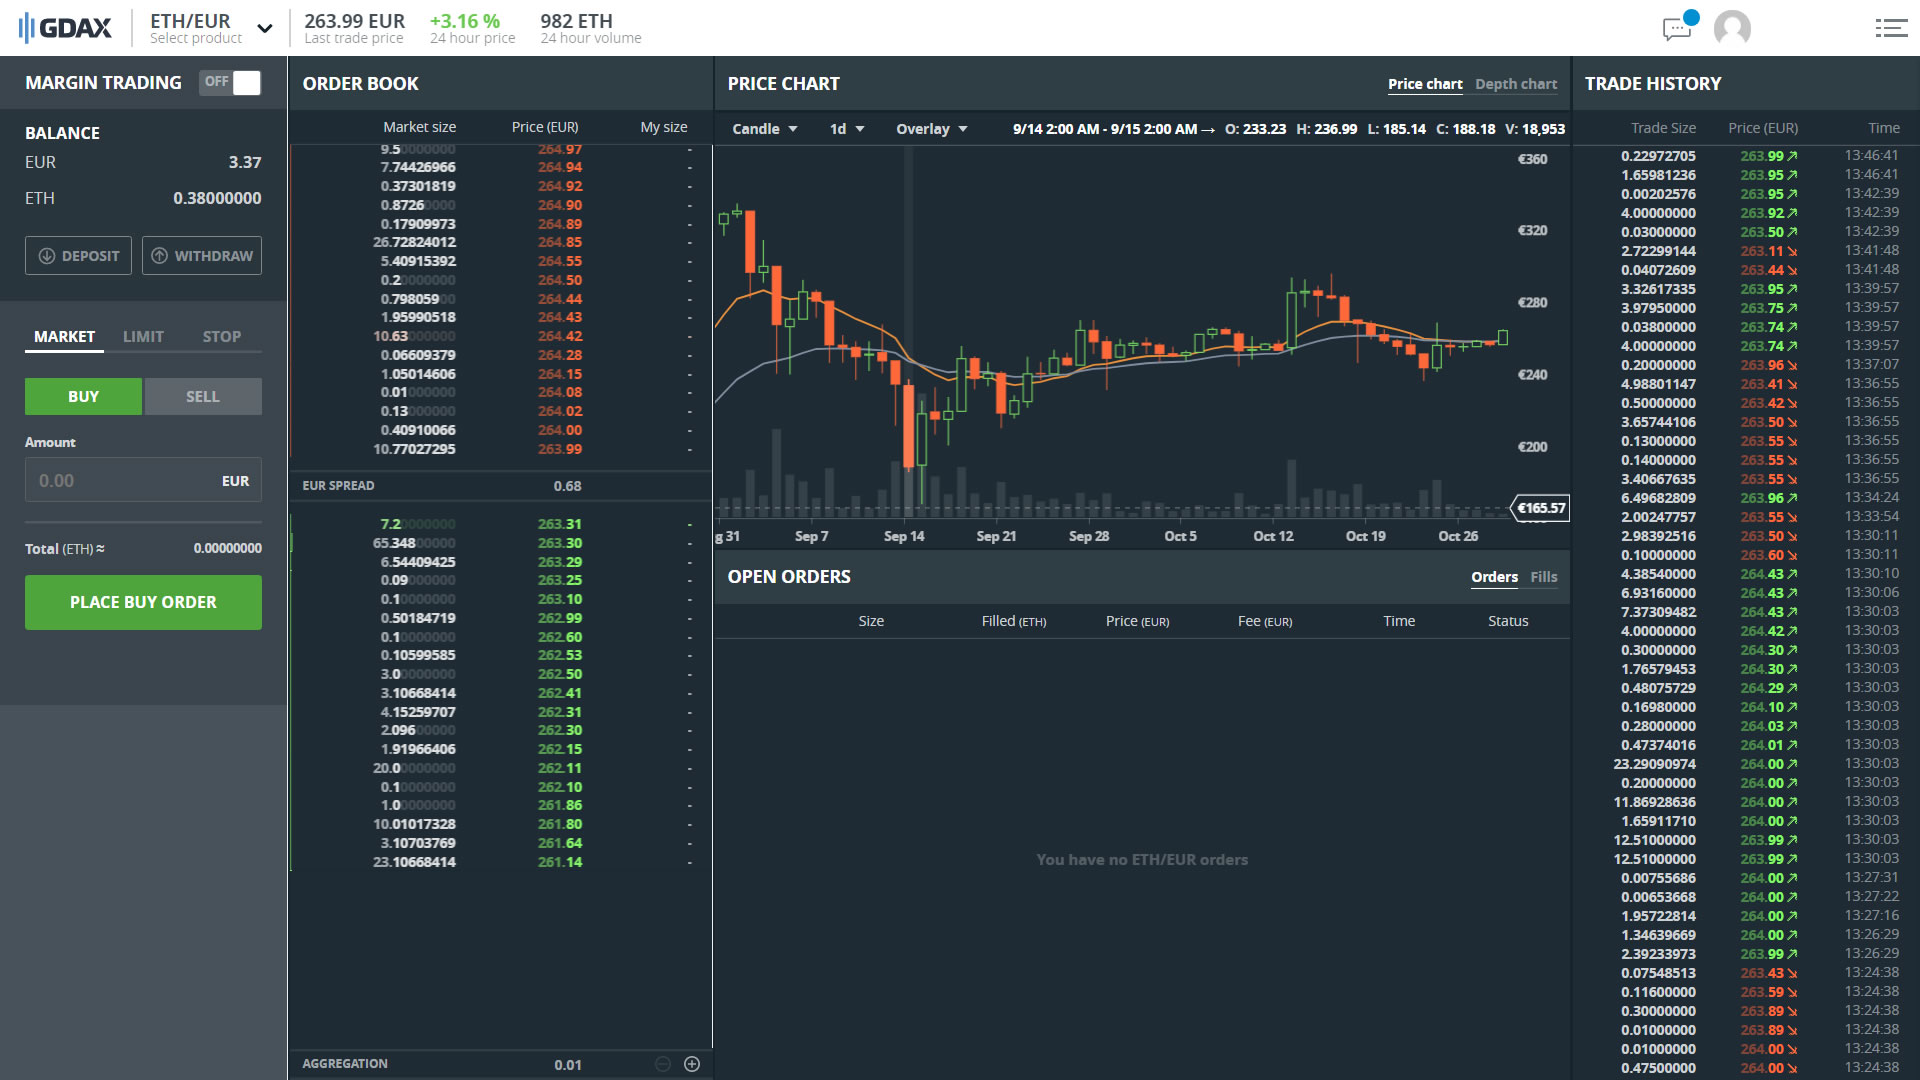
Deposit Yay, you've created your account! First, we're going to deposit your funds. On the left, under balance, are the buttons "Deposit" and "Witdraw". Click "Deposit". |
 |
|
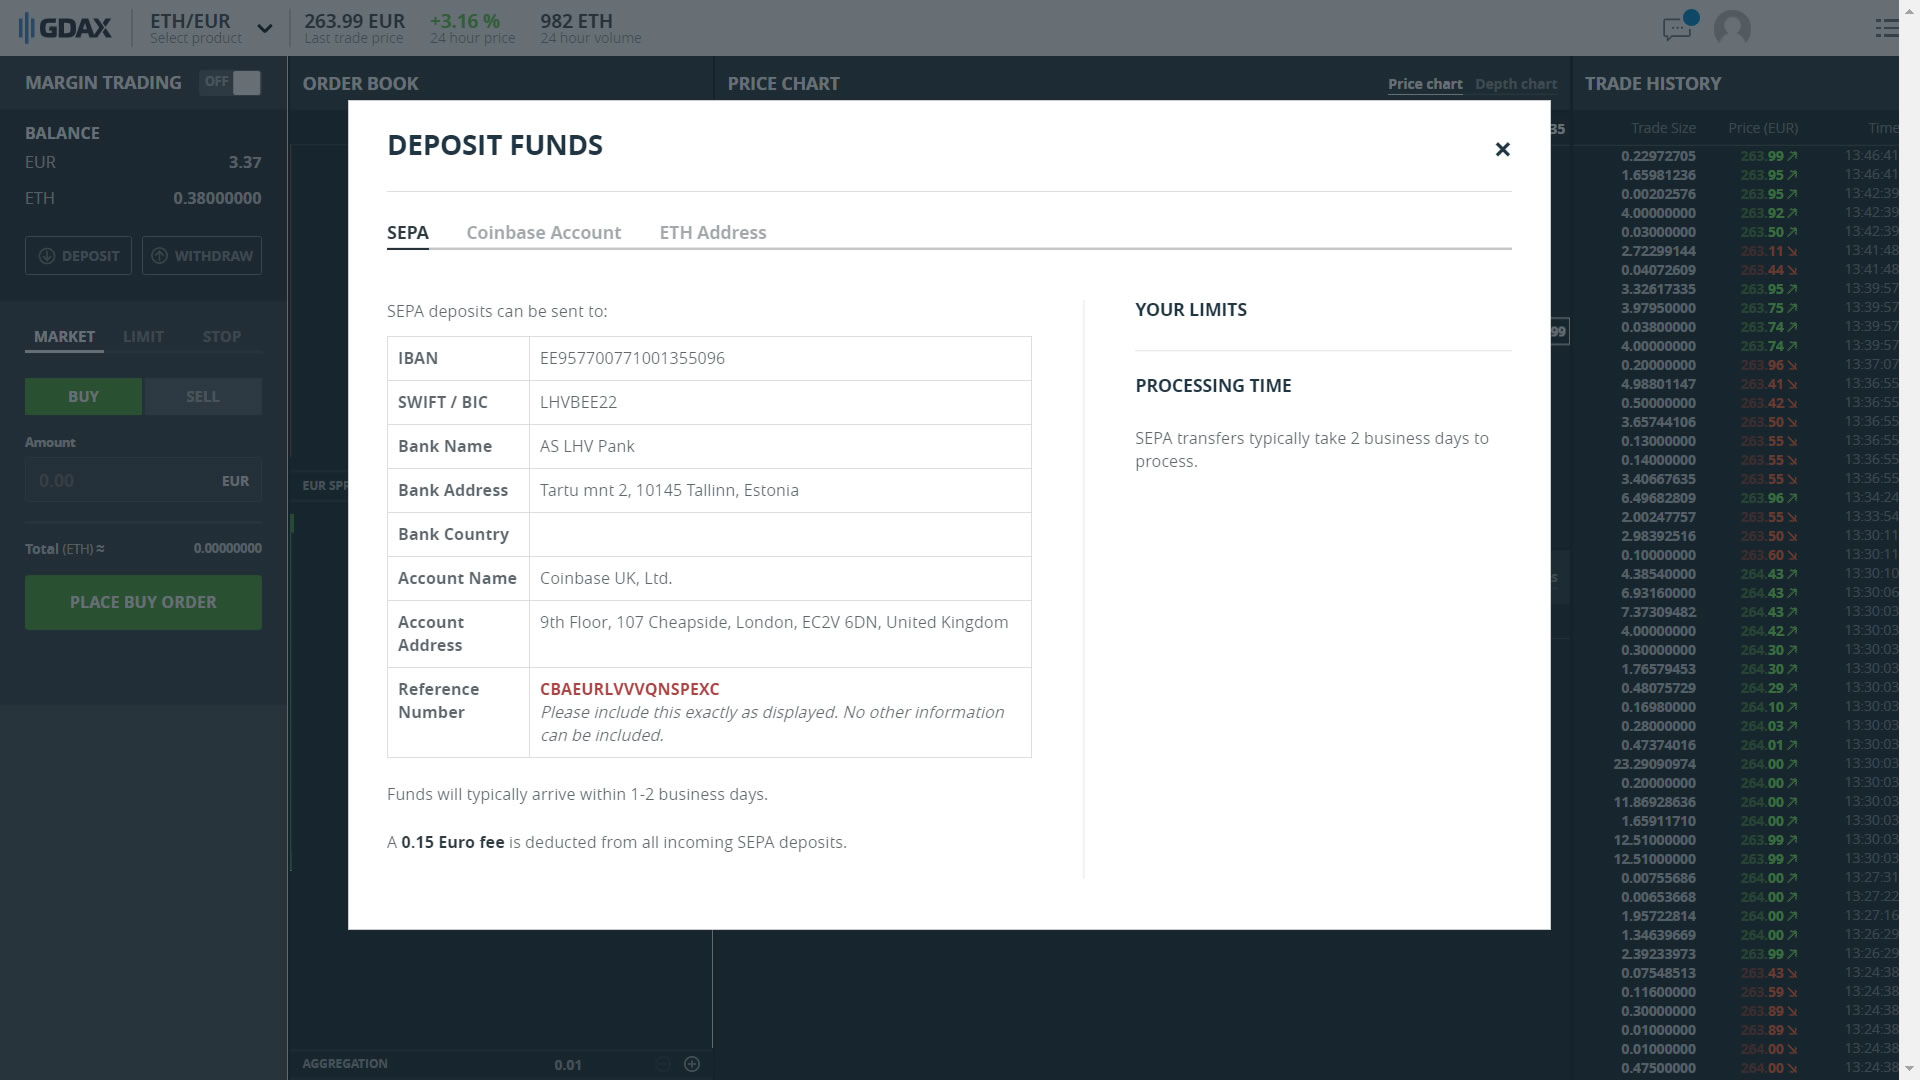
Deposit funds This is where you deposit your funds. Double check if you've filled in all the required information correctly! |
 |
|
The Next Step We'll have to create an API key for your Hopper. With this key, your Hopper can trade on your behalf. In the right top corner, is the settings icon. Click it. A dropdown menu is show, click "API". |
|
|
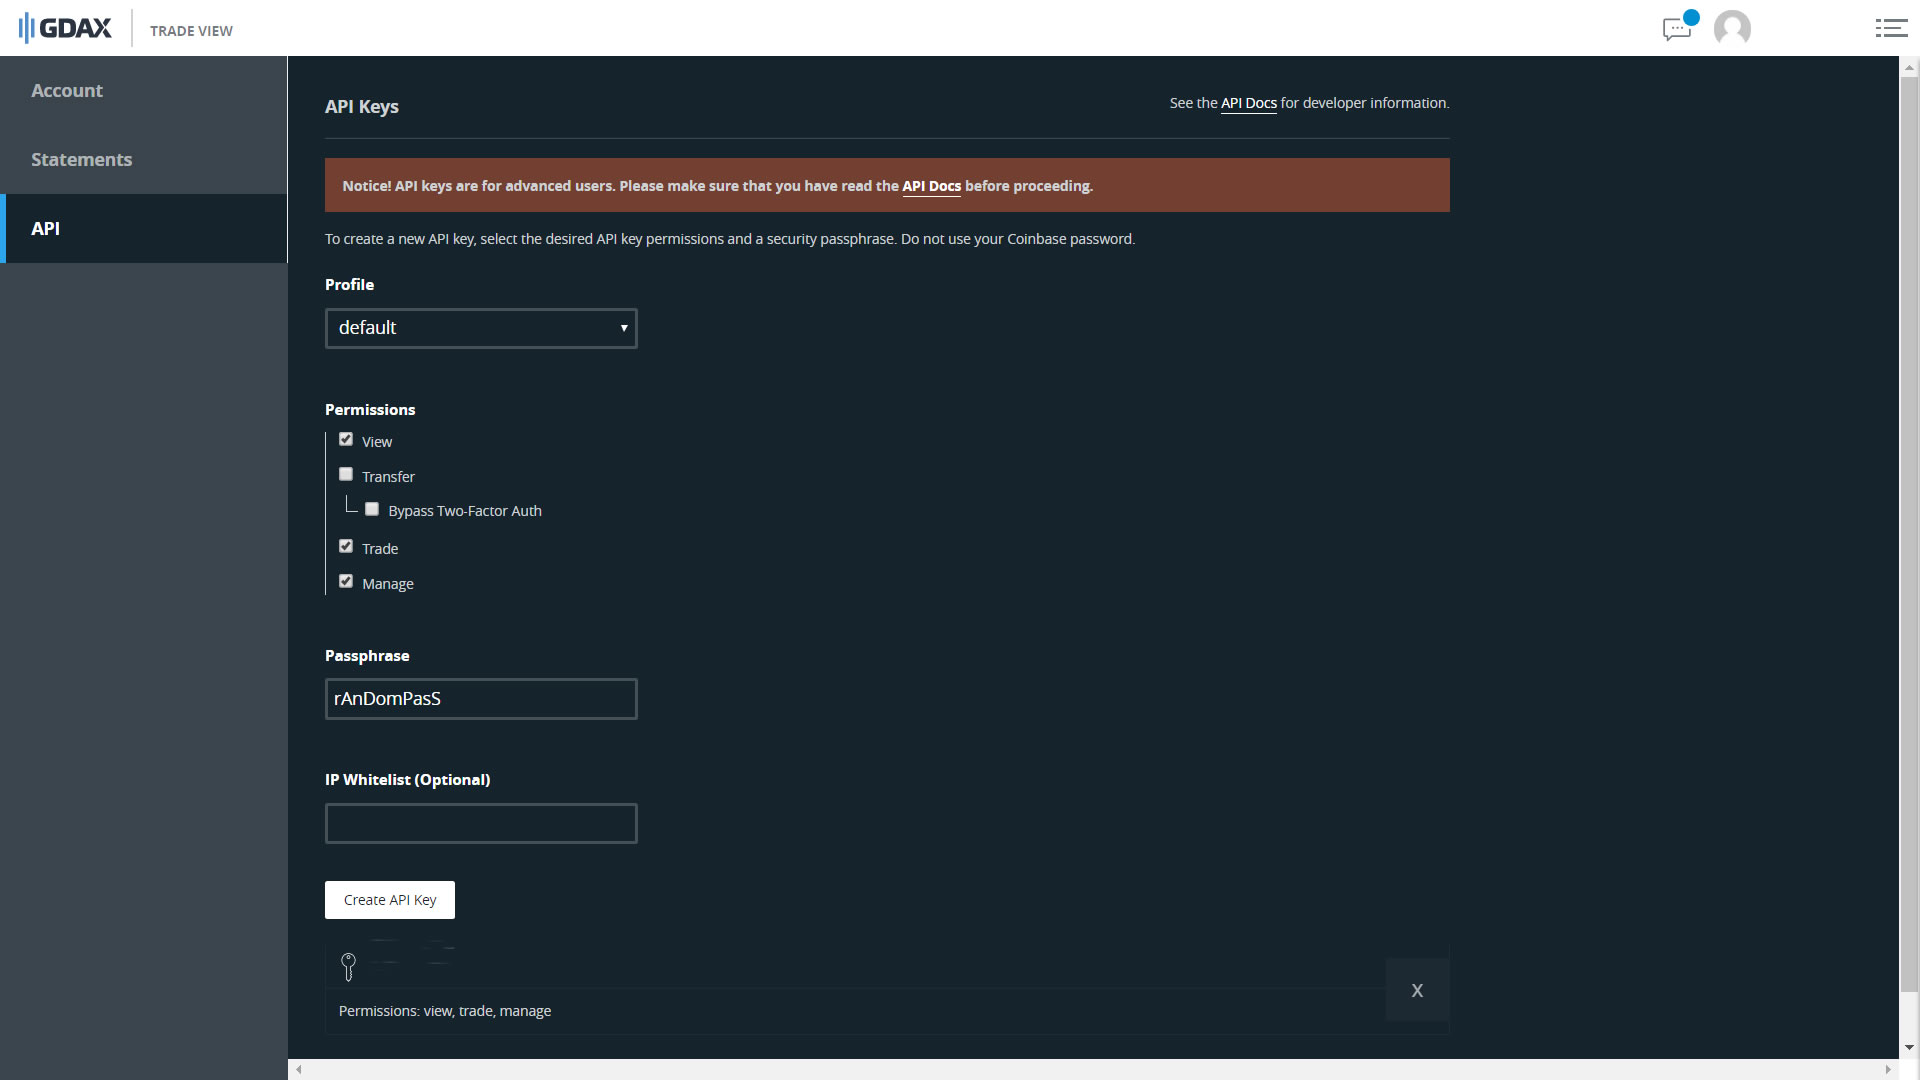
Create API Key Copy these permissions. *IMPORTANT We do not want the permission to transfer funds! We only want to be able to view, trade and manage. Click "Create API Key". Your public and and private key are shown at the bottom of the page. We'll have to copy these keys into the config of your Hopper. |
 |
|
Configure your Hopper Now you've created your keys, it's time to configure your Hopper. Go to your Hopper's dashboard and click Config. Choose GDAX as your exchange. Fill in your API key and your API secret key. Click save. |
 |
And you're done! Check our other tutorials/Academy and community forum where users share their Hopper settings.
Happy Hopping!
Cryptohopper